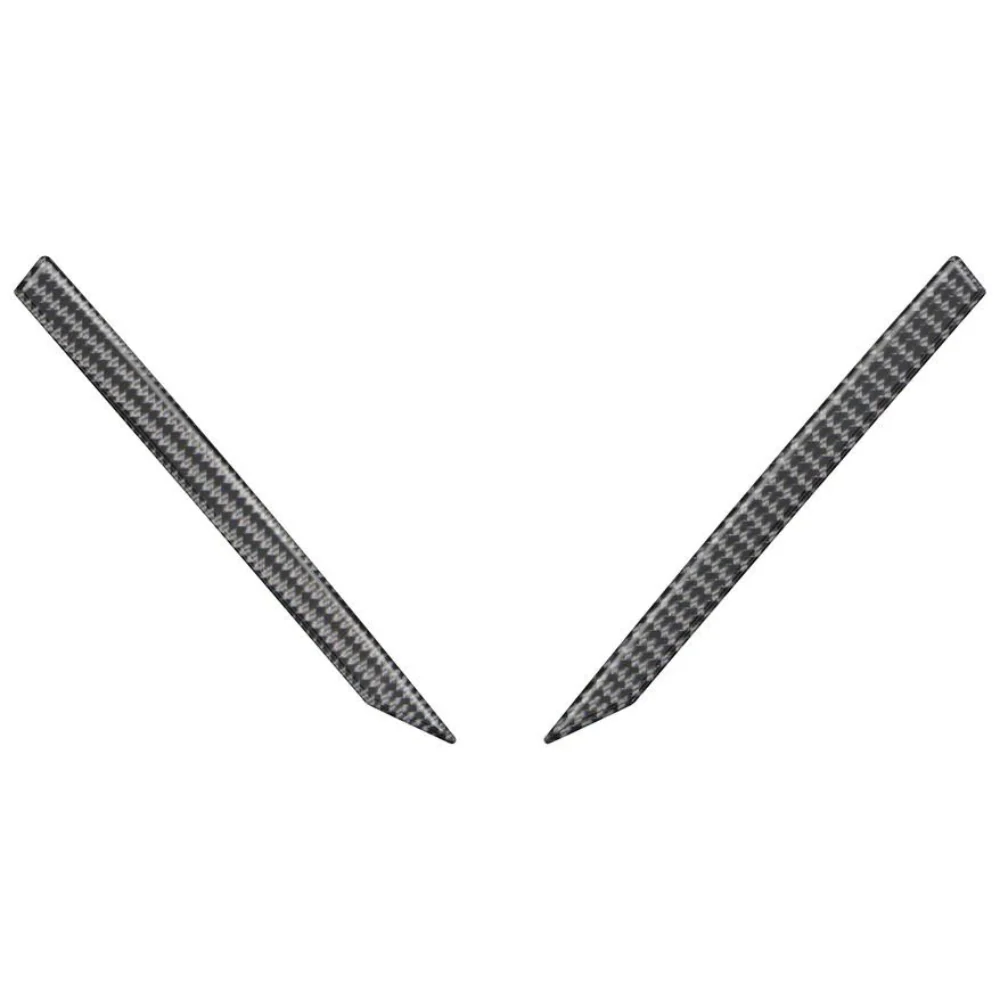
Taco Vinyl Rear Classic Decals
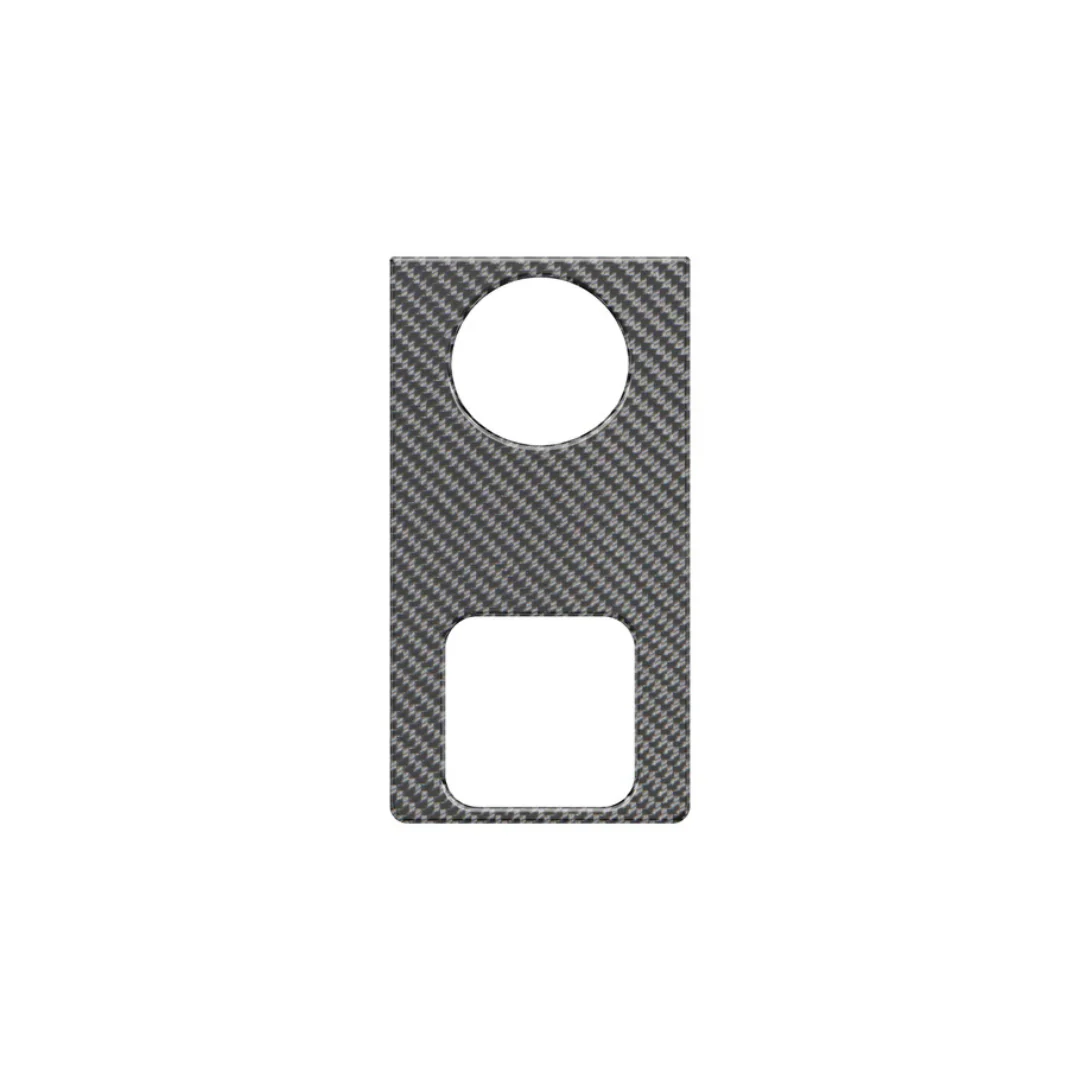
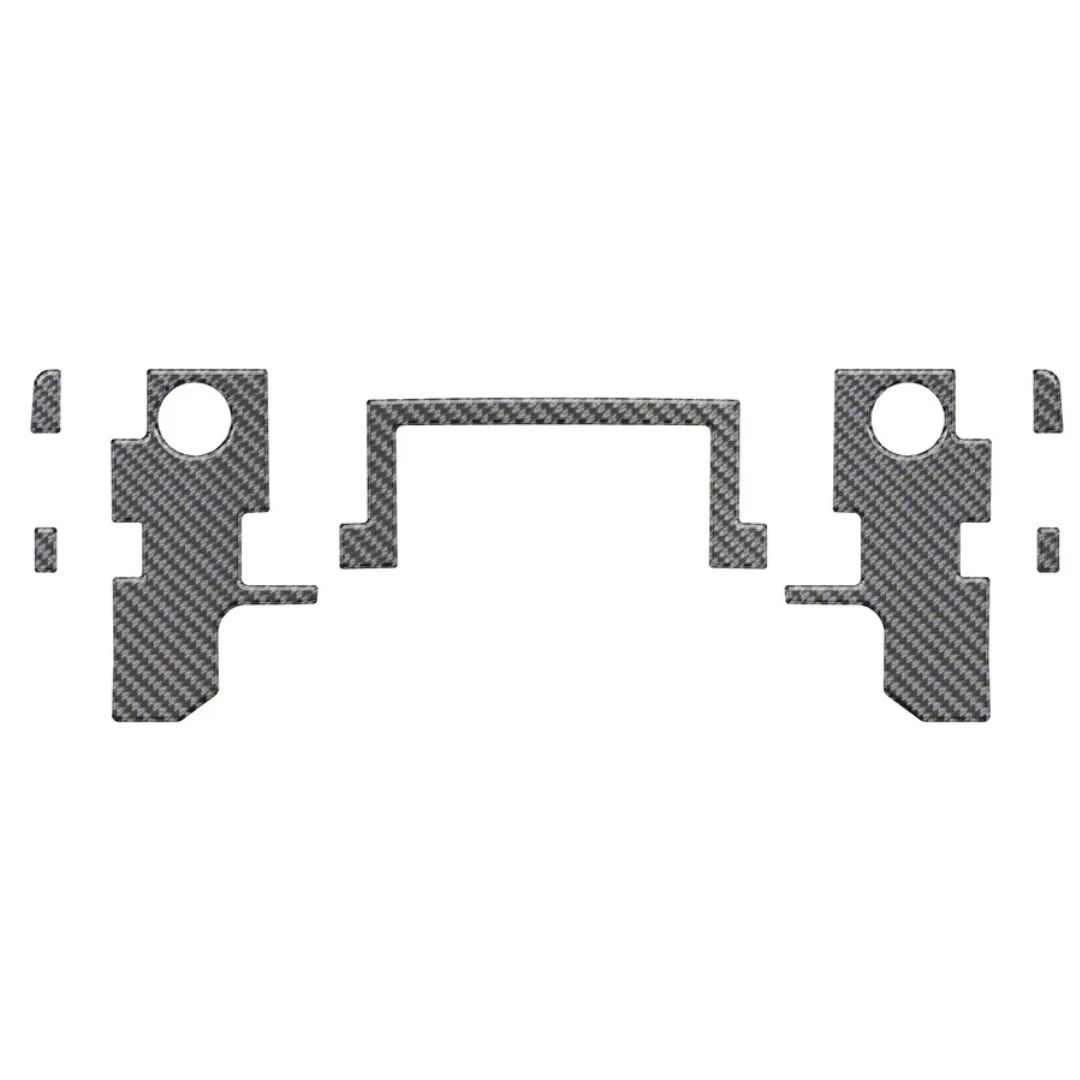
Want something to spice up your stock decal on the bed of your tacoma? The Rear Bed Decals are the perfect addition for that! They are designed to go on the rear quarter panel, accompanying the stock/aftermarket bed decal.
This listing is just for the stripes, NOT the TRD OFF-ROAD decal
Note
- Please understand that we are not responsible for any installation errors. Any damaged components will need to be replaced at your expense.
Specifications
- Printed 1105 Avery Dennison vinyl, dye cut and with transfer paper for easy installation
- 4" x 2"
- Comes as a single pair decal. One for each side.
- Available in different color schemes
- Classic scheme is brighter more vibrant color scheme compared to the heritage scheme
Installation Guide
- Prep surface area with alcohol or glass cleaner
- Dry/ clean area well then remove backing paper from decal
- Place decal and apply pressure to activate adhesive
- Carefully remove the transfer paper
- Finish pressing decal on and cut to proper length
- Please do not use any liquid during installation
Original: $14.99
-70%$14.99
$4.50More Images


Taco Vinyl Rear Classic Decals
Want something to spice up your stock decal on the bed of your tacoma? The Rear Bed Decals are the perfect addition for that! They are designed to go on the rear quarter panel, accompanying the stock/aftermarket bed decal.
This listing is just for the stripes, NOT the TRD OFF-ROAD decal
Note
- Please understand that we are not responsible for any installation errors. Any damaged components will need to be replaced at your expense.
Specifications
- Printed 1105 Avery Dennison vinyl, dye cut and with transfer paper for easy installation
- 4" x 2"
- Comes as a single pair decal. One for each side.
- Available in different color schemes
- Classic scheme is brighter more vibrant color scheme compared to the heritage scheme
Installation Guide
- Prep surface area with alcohol or glass cleaner
- Dry/ clean area well then remove backing paper from decal
- Place decal and apply pressure to activate adhesive
- Carefully remove the transfer paper
- Finish pressing decal on and cut to proper length
- Please do not use any liquid during installation
Product Information
Product Information
Shipping & Returns
Shipping & Returns
Description
Want something to spice up your stock decal on the bed of your tacoma? The Rear Bed Decals are the perfect addition for that! They are designed to go on the rear quarter panel, accompanying the stock/aftermarket bed decal.
This listing is just for the stripes, NOT the TRD OFF-ROAD decal
Note
- Please understand that we are not responsible for any installation errors. Any damaged components will need to be replaced at your expense.
Specifications
- Printed 1105 Avery Dennison vinyl, dye cut and with transfer paper for easy installation
- 4" x 2"
- Comes as a single pair decal. One for each side.
- Available in different color schemes
- Classic scheme is brighter more vibrant color scheme compared to the heritage scheme
Installation Guide
- Prep surface area with alcohol or glass cleaner
- Dry/ clean area well then remove backing paper from decal
- Place decal and apply pressure to activate adhesive
- Carefully remove the transfer paper
- Finish pressing decal on and cut to proper length
- Please do not use any liquid during installation